Interacting with a Device in the Device Lab
When you want to perform a manual test or create an automated test run to test your app, you must first acquire and launch a device. Once you’ve done this, there are many actions available to you you can use to help with testing your app.
To learn how to acquire and launch a device, visit Understanding the Device Lab.
Understanding Device Actions
Once you’ve launched a device from the device lab, your app will automatically begin installing on the device. Once it’s installed, you can test your app by clicking on the device’s screen similar to how you’d tap options on a real mobile device.
Next to the device is a column of icons, each representing an action you can perform on the device to help test your app.
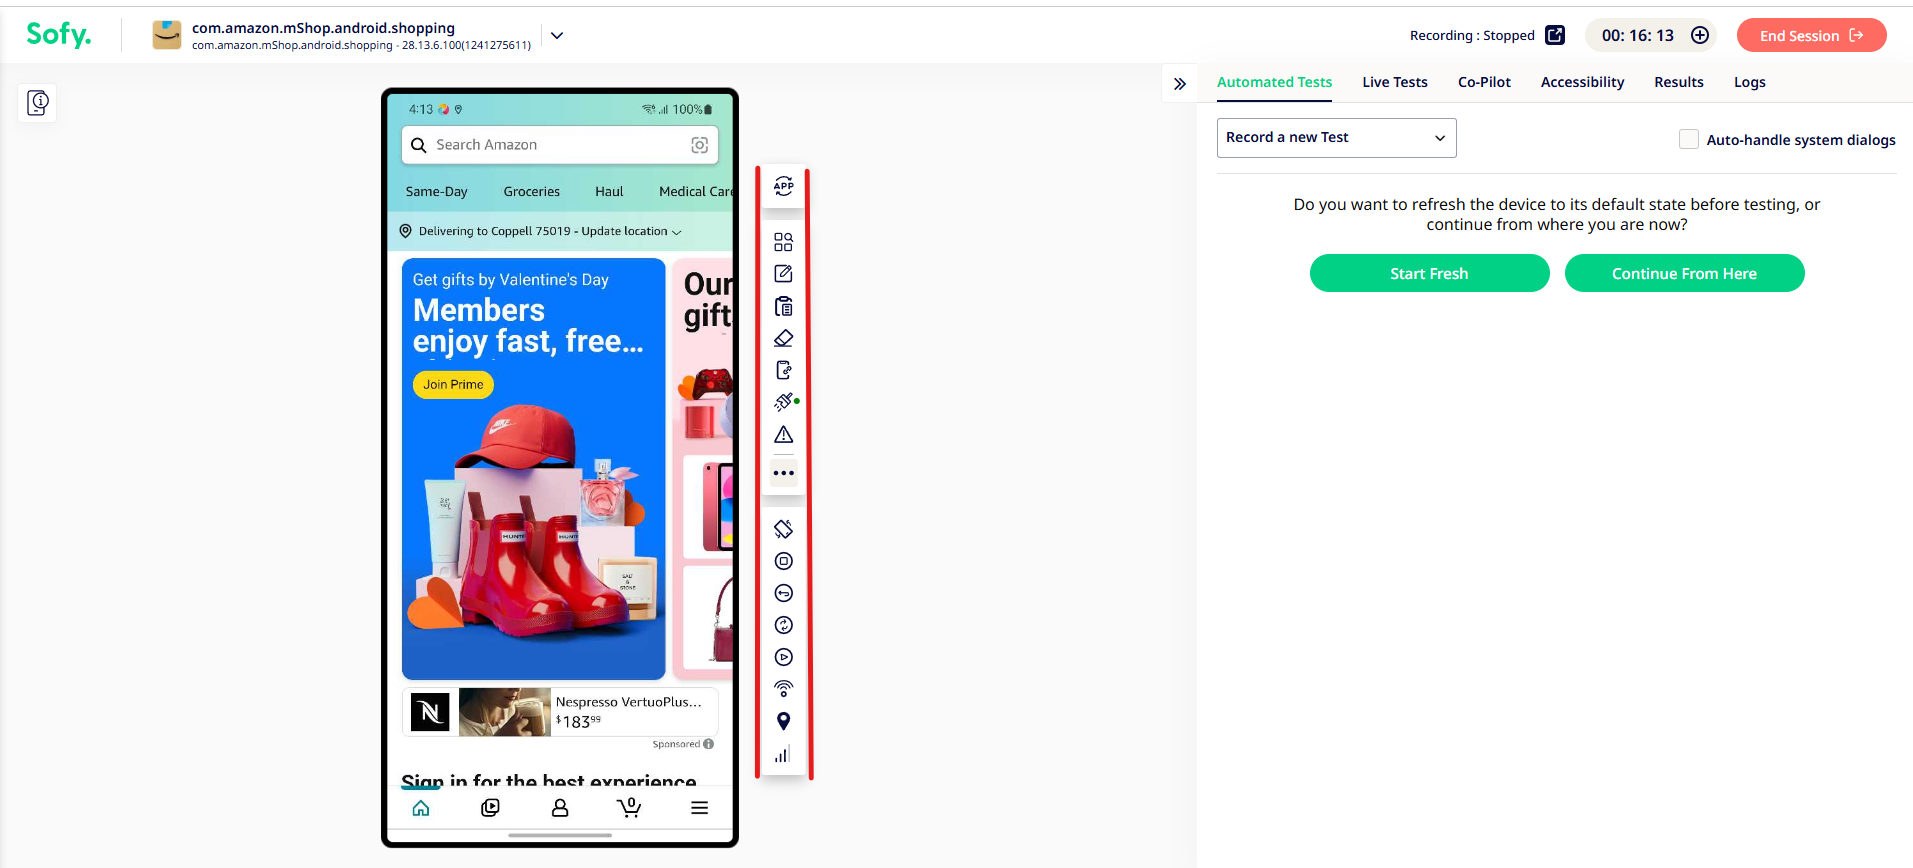
- App Switcher: Switch between your app and standard phone apps, such as the Chrome or Safari browsers.
- Element Explorer: Open the Element Explorer view to select an app element and review its attributes.
- Edit Text: Add or edit text in a text field, use an existing test case variable, or create a new test variable.
- Paste from Clipboard: Inserts text copied to your device’s clipboard into the active text field.
- Clear Text: If you have text entered into a field, use this option to remove the text and start with a blank text input.
- Deeplink: Launch a deeplink from your current app/device state either as a static text or saved in a variable.
- Clean Cached Data: Clear all cached data from the device once a test recording is started. A green dot next to the icon indicates this option is turned on. You can only enable or disable this setting outside of recording.
- Create Issue: Create and submit a product issue. You can only create an issue outside of recording, during manual or ad-hoc testing.
- Orientation: Flip the device sideways (landscape orientation) to test your app in a different orientation. Click the Orientation button again to flip the device back to default (portrait orientation).
- Home: Return to the device’s home screen.
- Back: Acts as a back button and can be used to return to the previous screen you were on.
- Reset: Reset the app. You can perform a soft reset, hard reset, relaunch the app, or kill the app. This option is only available while recording test case steps.
- Enter: Use this option to enter an input (e.g., enter a line of text, send a message, etc.).
- Wifi: Enable or disable a Wifi connection on the device. Use this to test your app while the Wifi is turned off or on.
- Location: Set a location in the device or app. Use the map or provide exact longitude and latitude coordinates.
- Network Speed: Switch the device’s network from 5G to 4G. Use this to test your app on different network conditions.