Recording a Swipe Until Step

Swipe Until is a powerful feature in Sofy’s No Code Automation that makes automated swipes work reliably across different devices and screen sizes.
Instead of hardcoding a fixed number of swipes—which often fails when more or fewer swipes are needed—you can now tell the system to swipe up or down until the specified element is found.
- You can set a maximum number of swipes to prevent endless scrolling.
- The test will pass if the element is found, or fail if the maximum swipes are reached.
This eliminates the need for manual adjustments after recording, helping you build more robust tests and saving time on repetitive edits.
Adding a Swipe Until Action While Recording a Test (Setup)
- Log in to your Sofy account.
- Select your desired application.
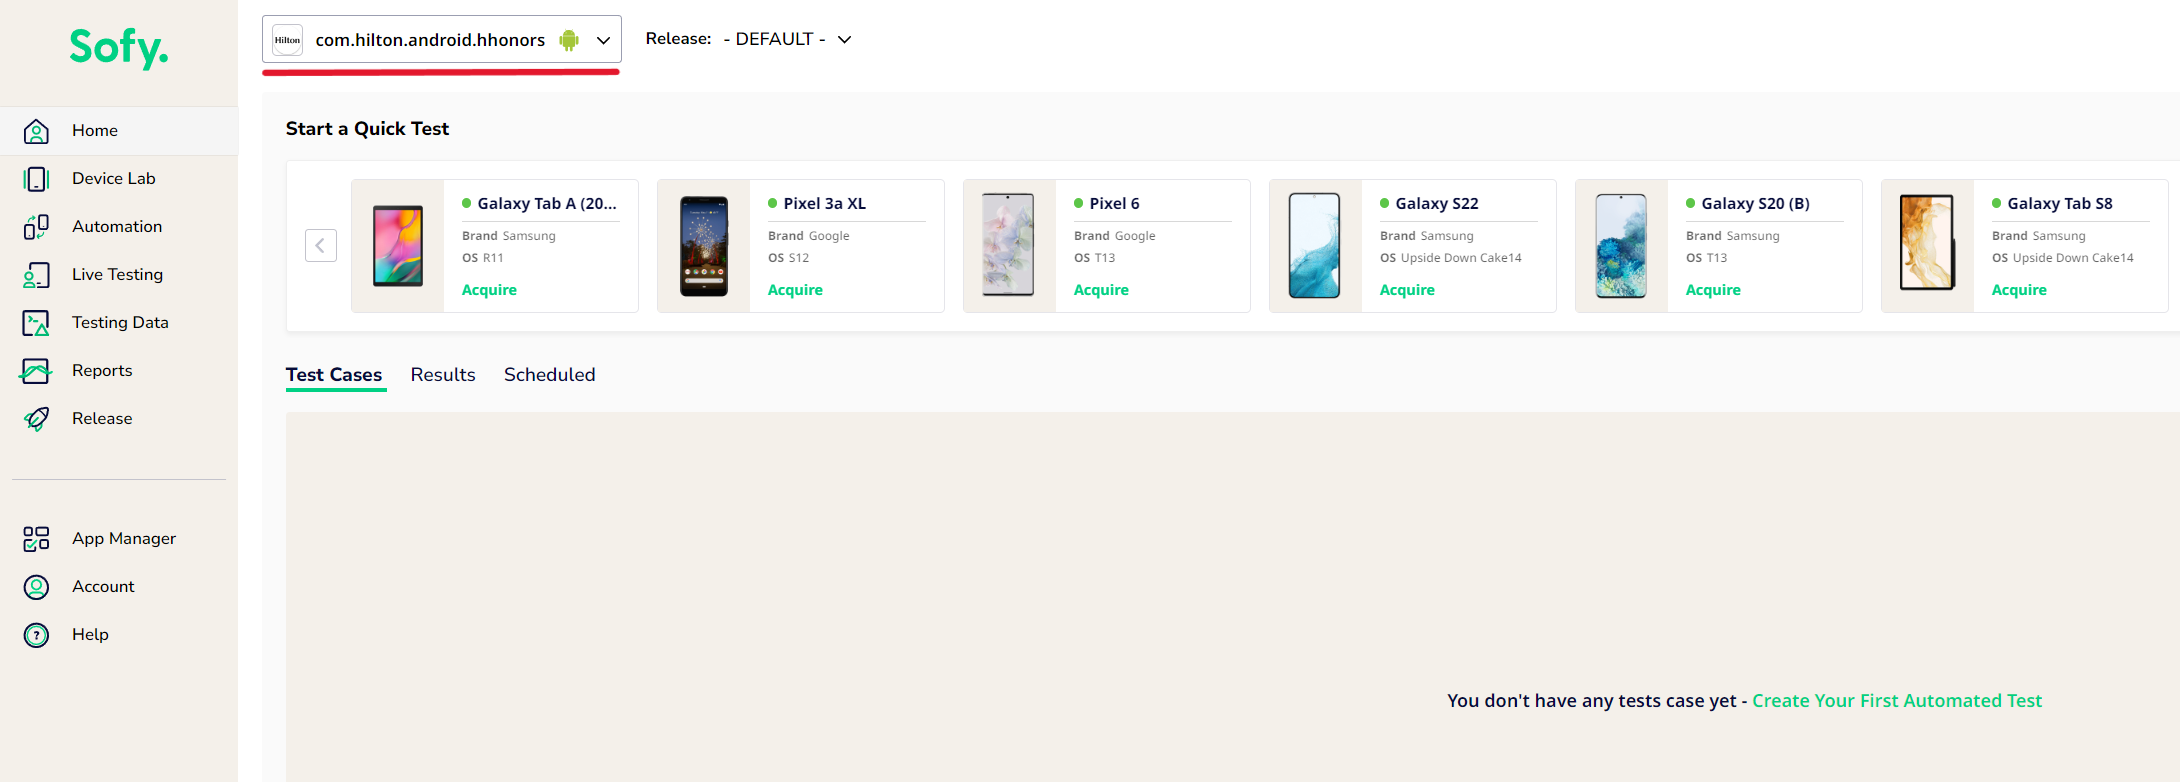
- From Device Lab, acquire a device with which you would like to record your test
- Once your device has set up, you can choose to begin recording a test from the dropdown menu highlighted here
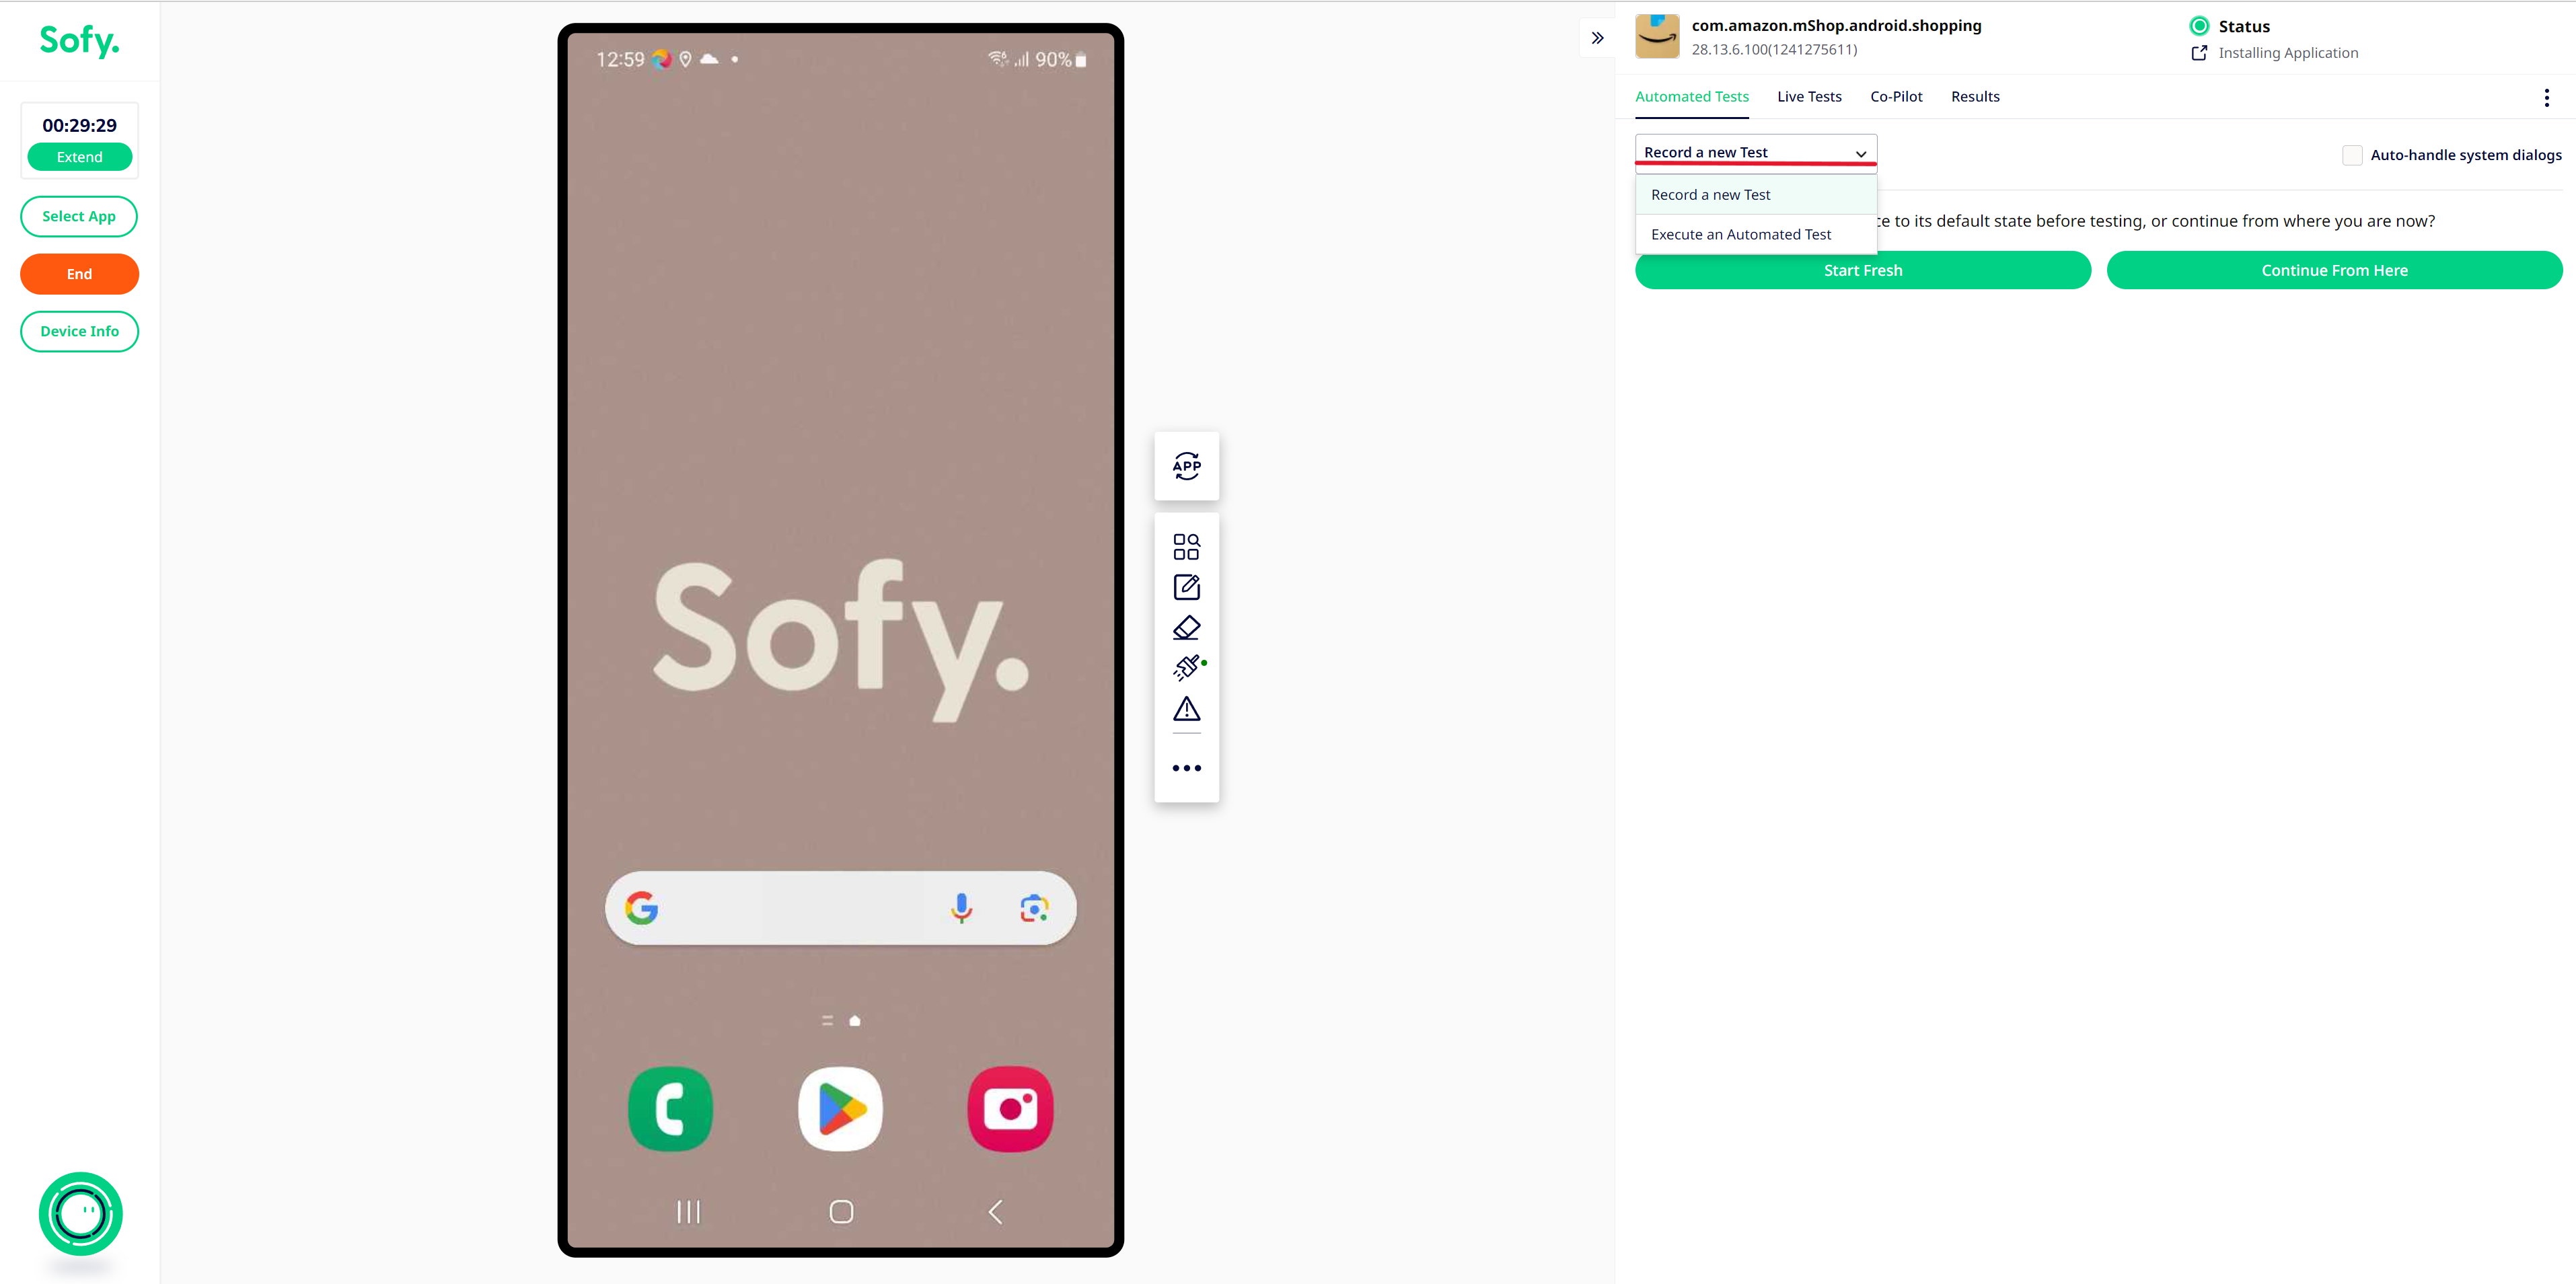
- You may now start recording after choosing 'Start Fresh'.
Swipe Until Step
Please watch this attached short video on a simplified walkthrough of how you can add a Swipe Until step during recording - Swipe Until While Recording A Test.
We will also break this process down here:
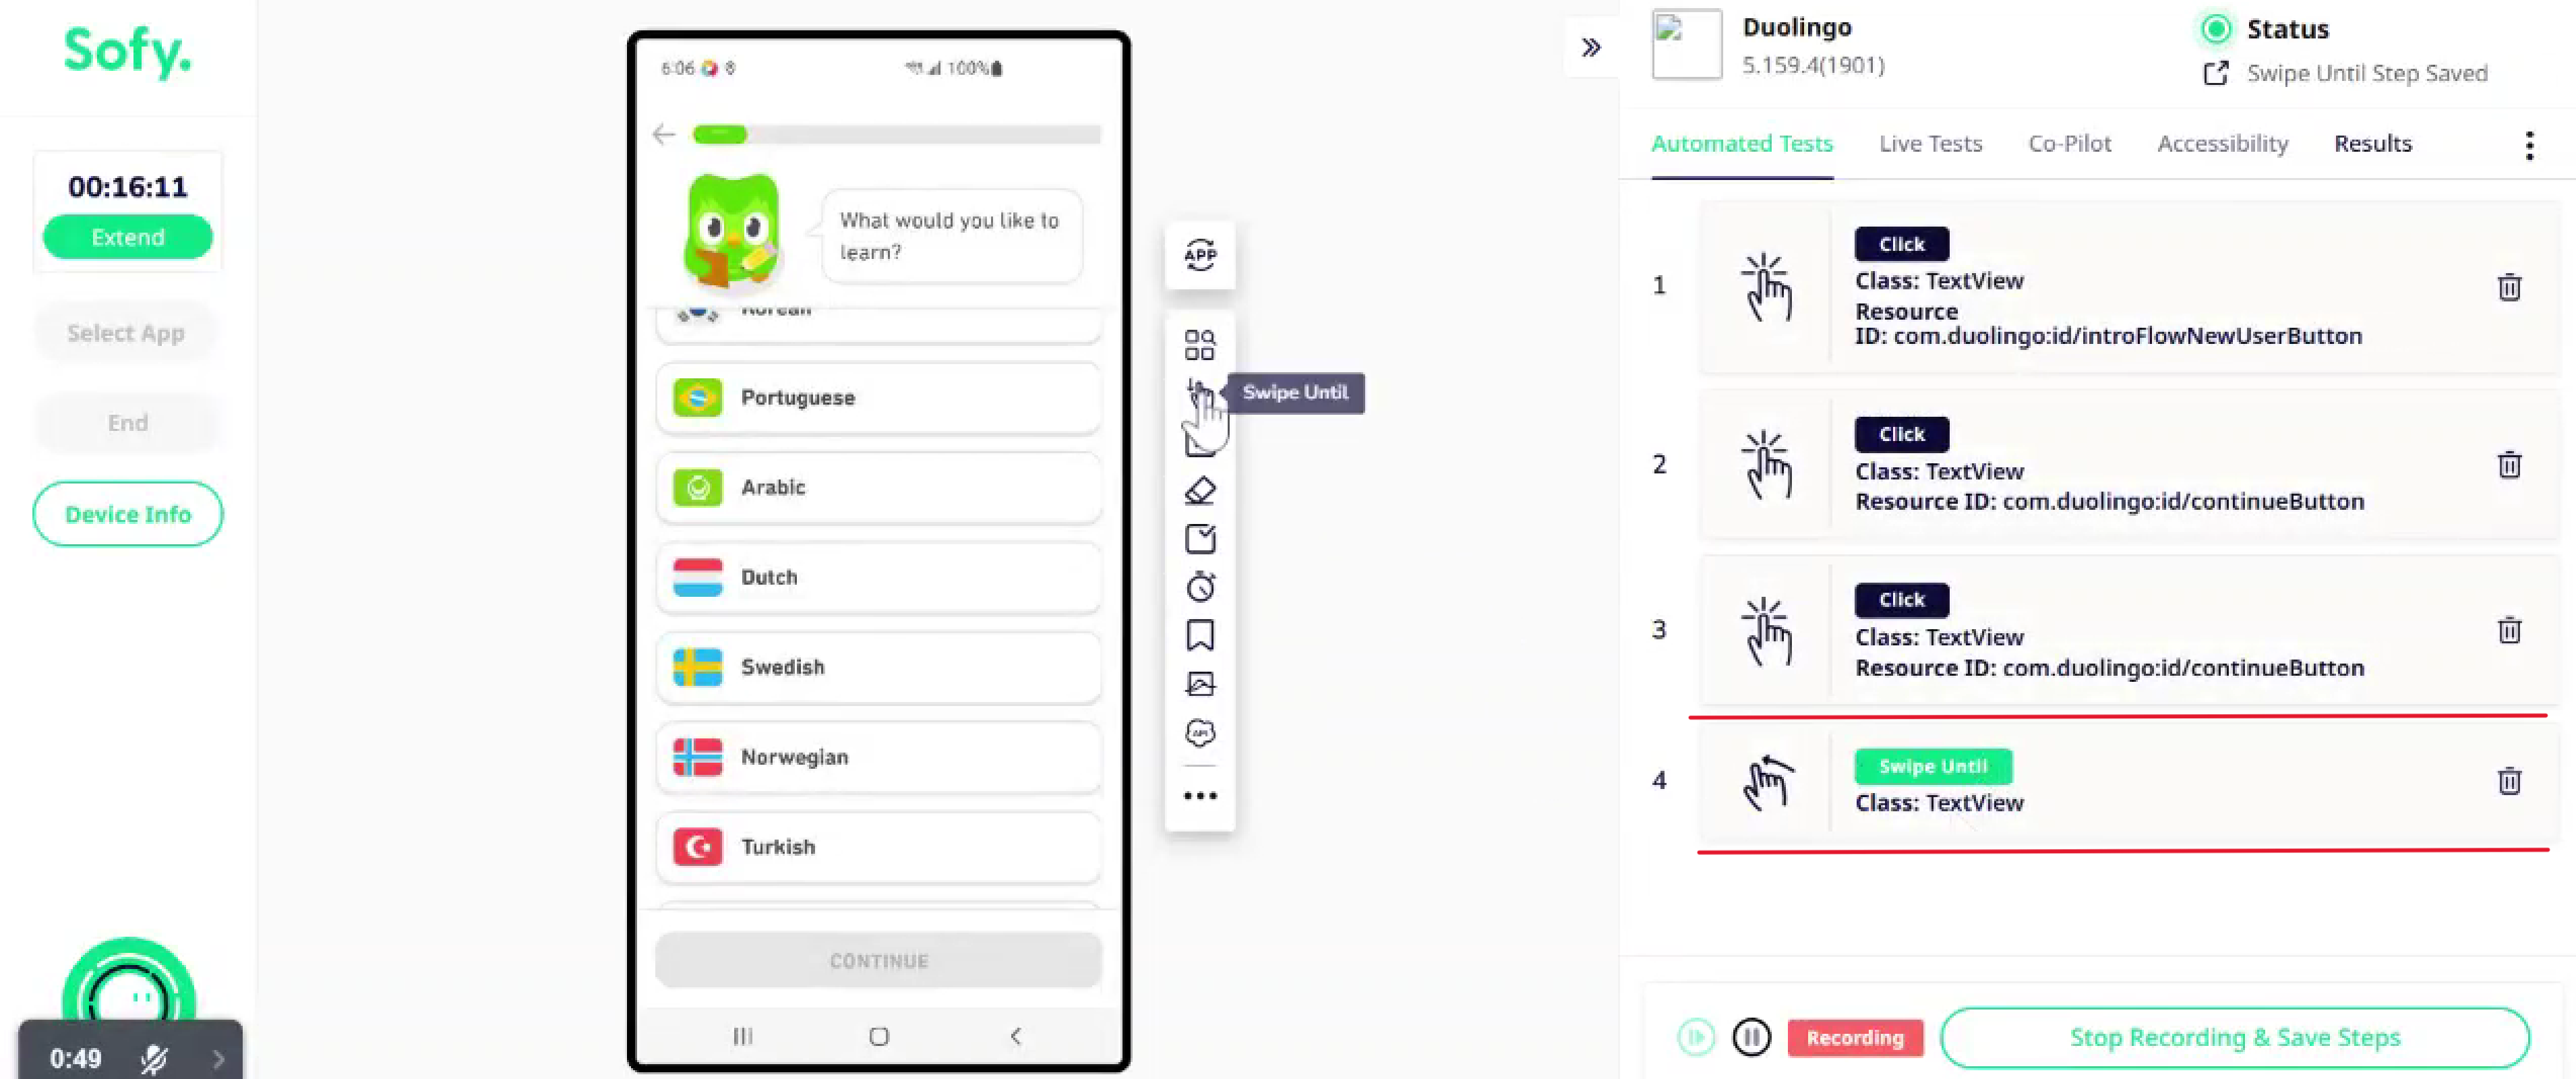
- As you begin recording, you will see the Swipe Until icon in the column next to the device
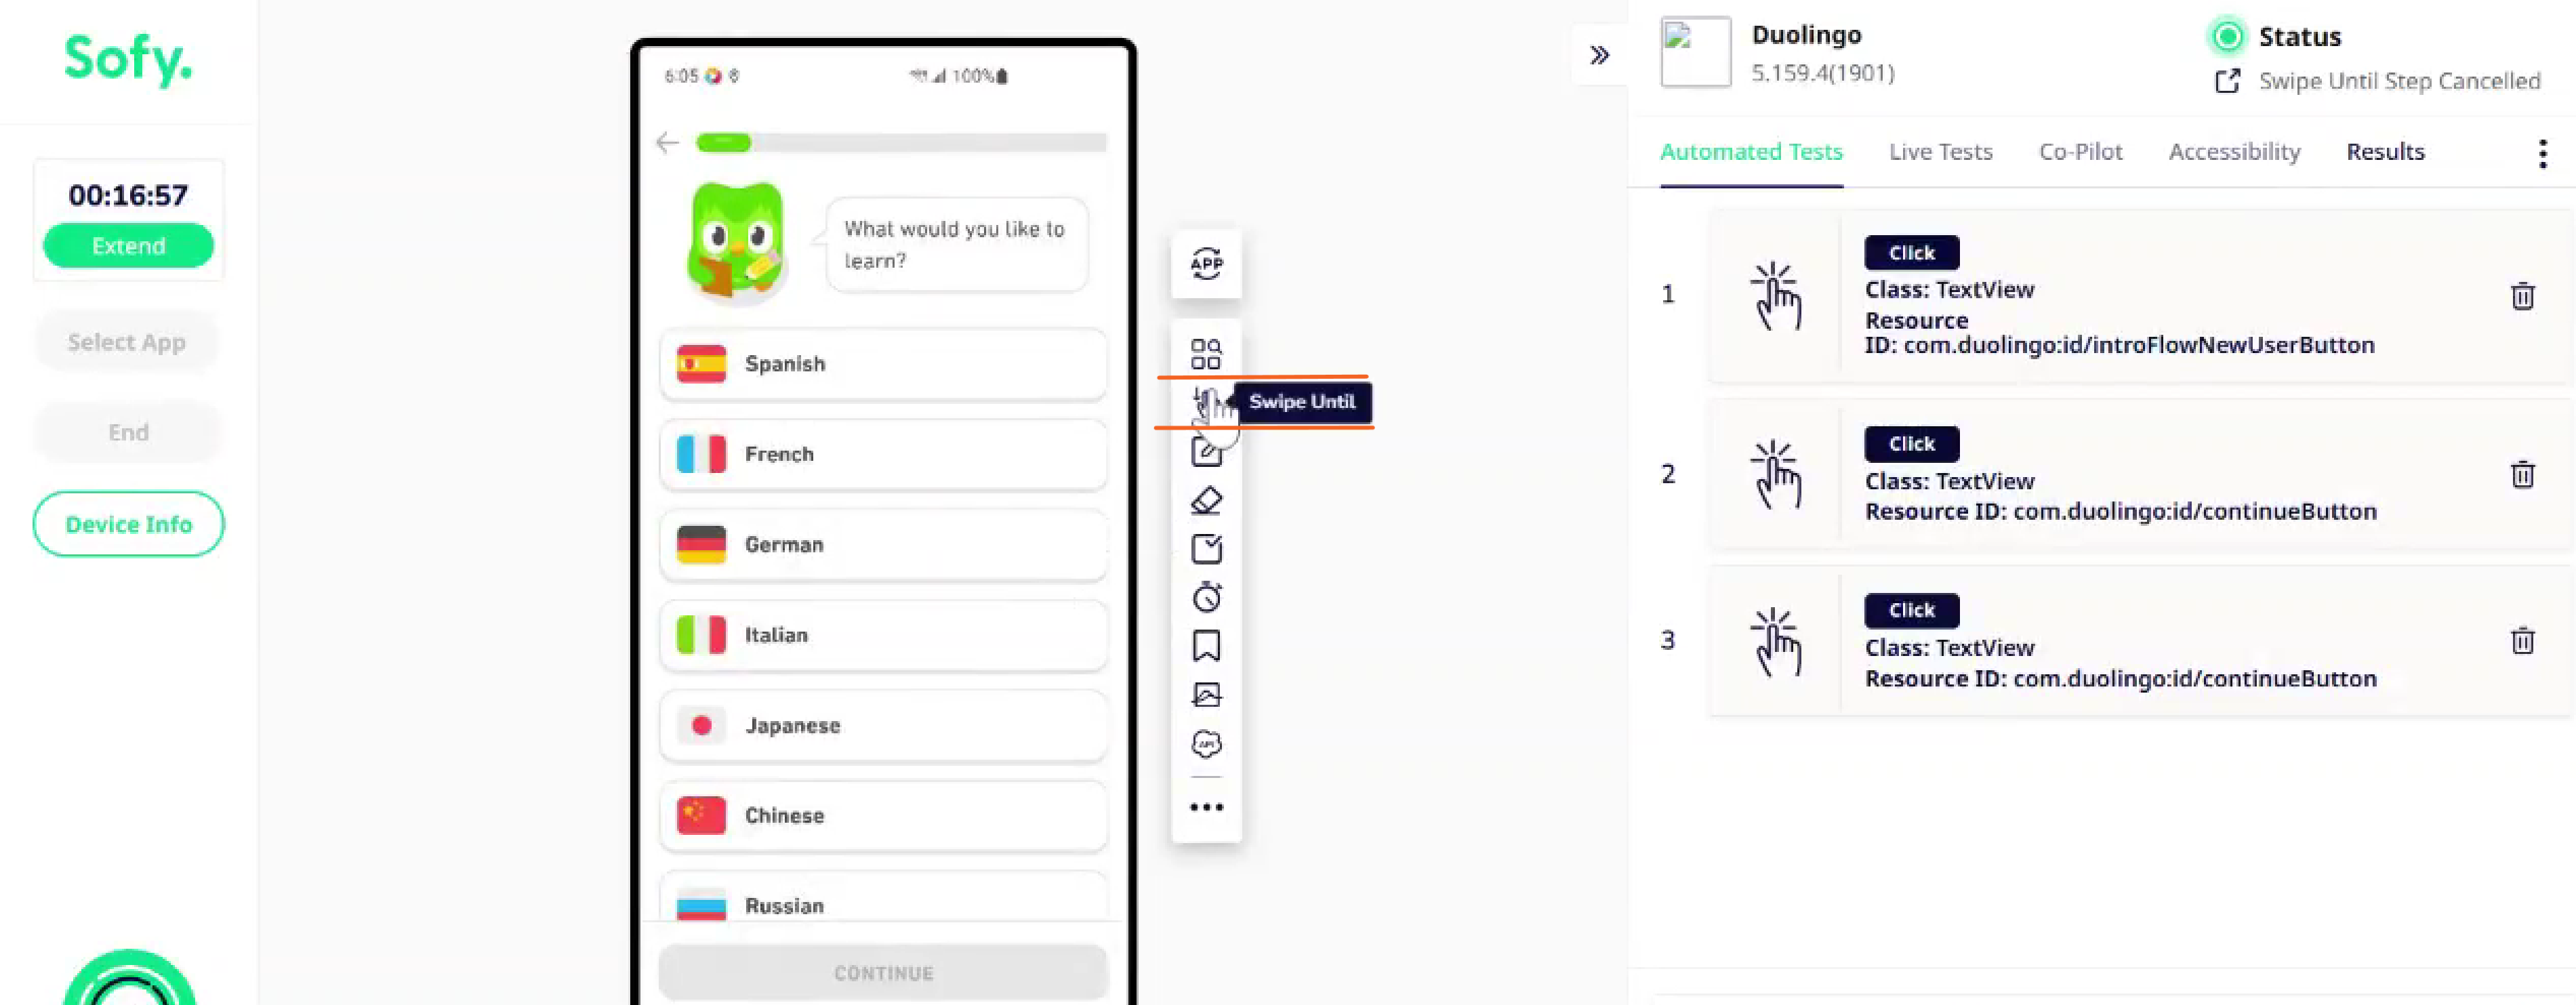
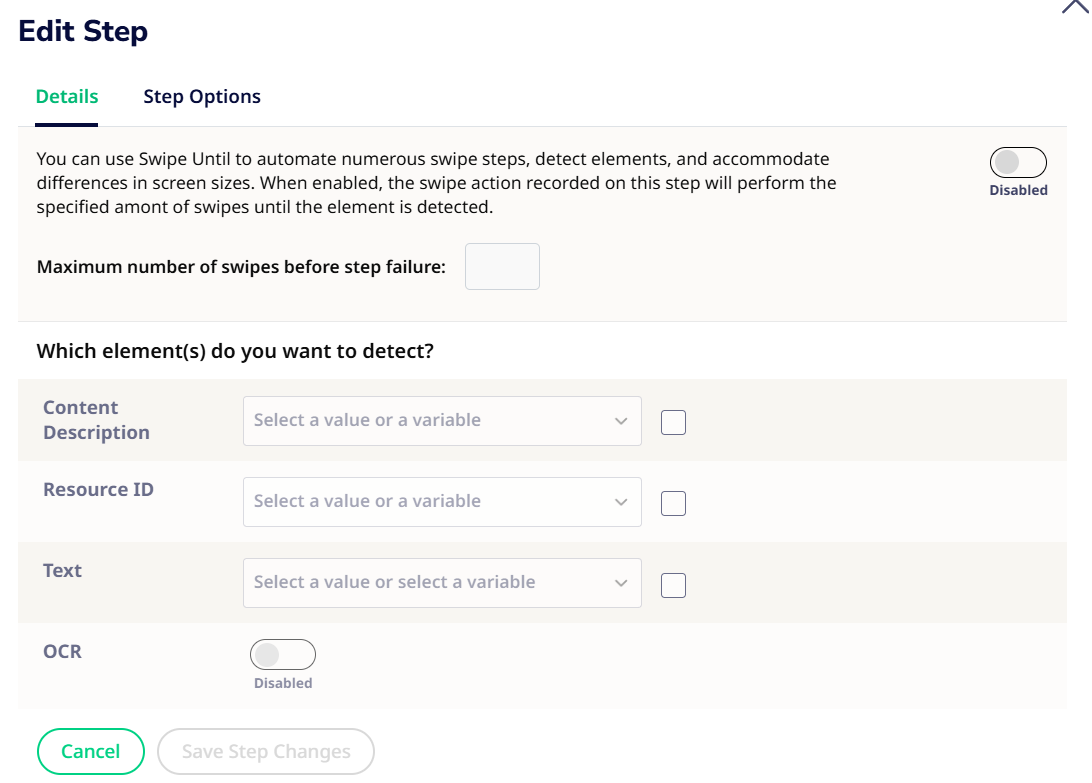
- Once you click on it, you will see the Swipe Until menu showing fields for Maximum number of swipes as well as attribute fields for the element you would like as the stopping condition (i.e. when the system sees this element on the screen, no more swipes will occur). When you swipe after enabling the Swipe Until menu, the maximum number of swipes will automatically increment to match how many swipes you perform.
- Upon locating the element on screen that you wish to use as the stopping condition, you can click on the element and its attributes will be captured by the system. You must then enable which attributes you would like to use. You can also manually set the maximum number of swipes. Once these fields have been added, you can click on the Add Swipe Until Step button as shown. In case of specifying Text as your indicator for Swipe-Until, you may choose to leverage Sofy's OCR capabilities by toggling between OCR and Non-OCR (XML) as shown below.
- The saved step will now appear in your list of recorded steps as shown below.
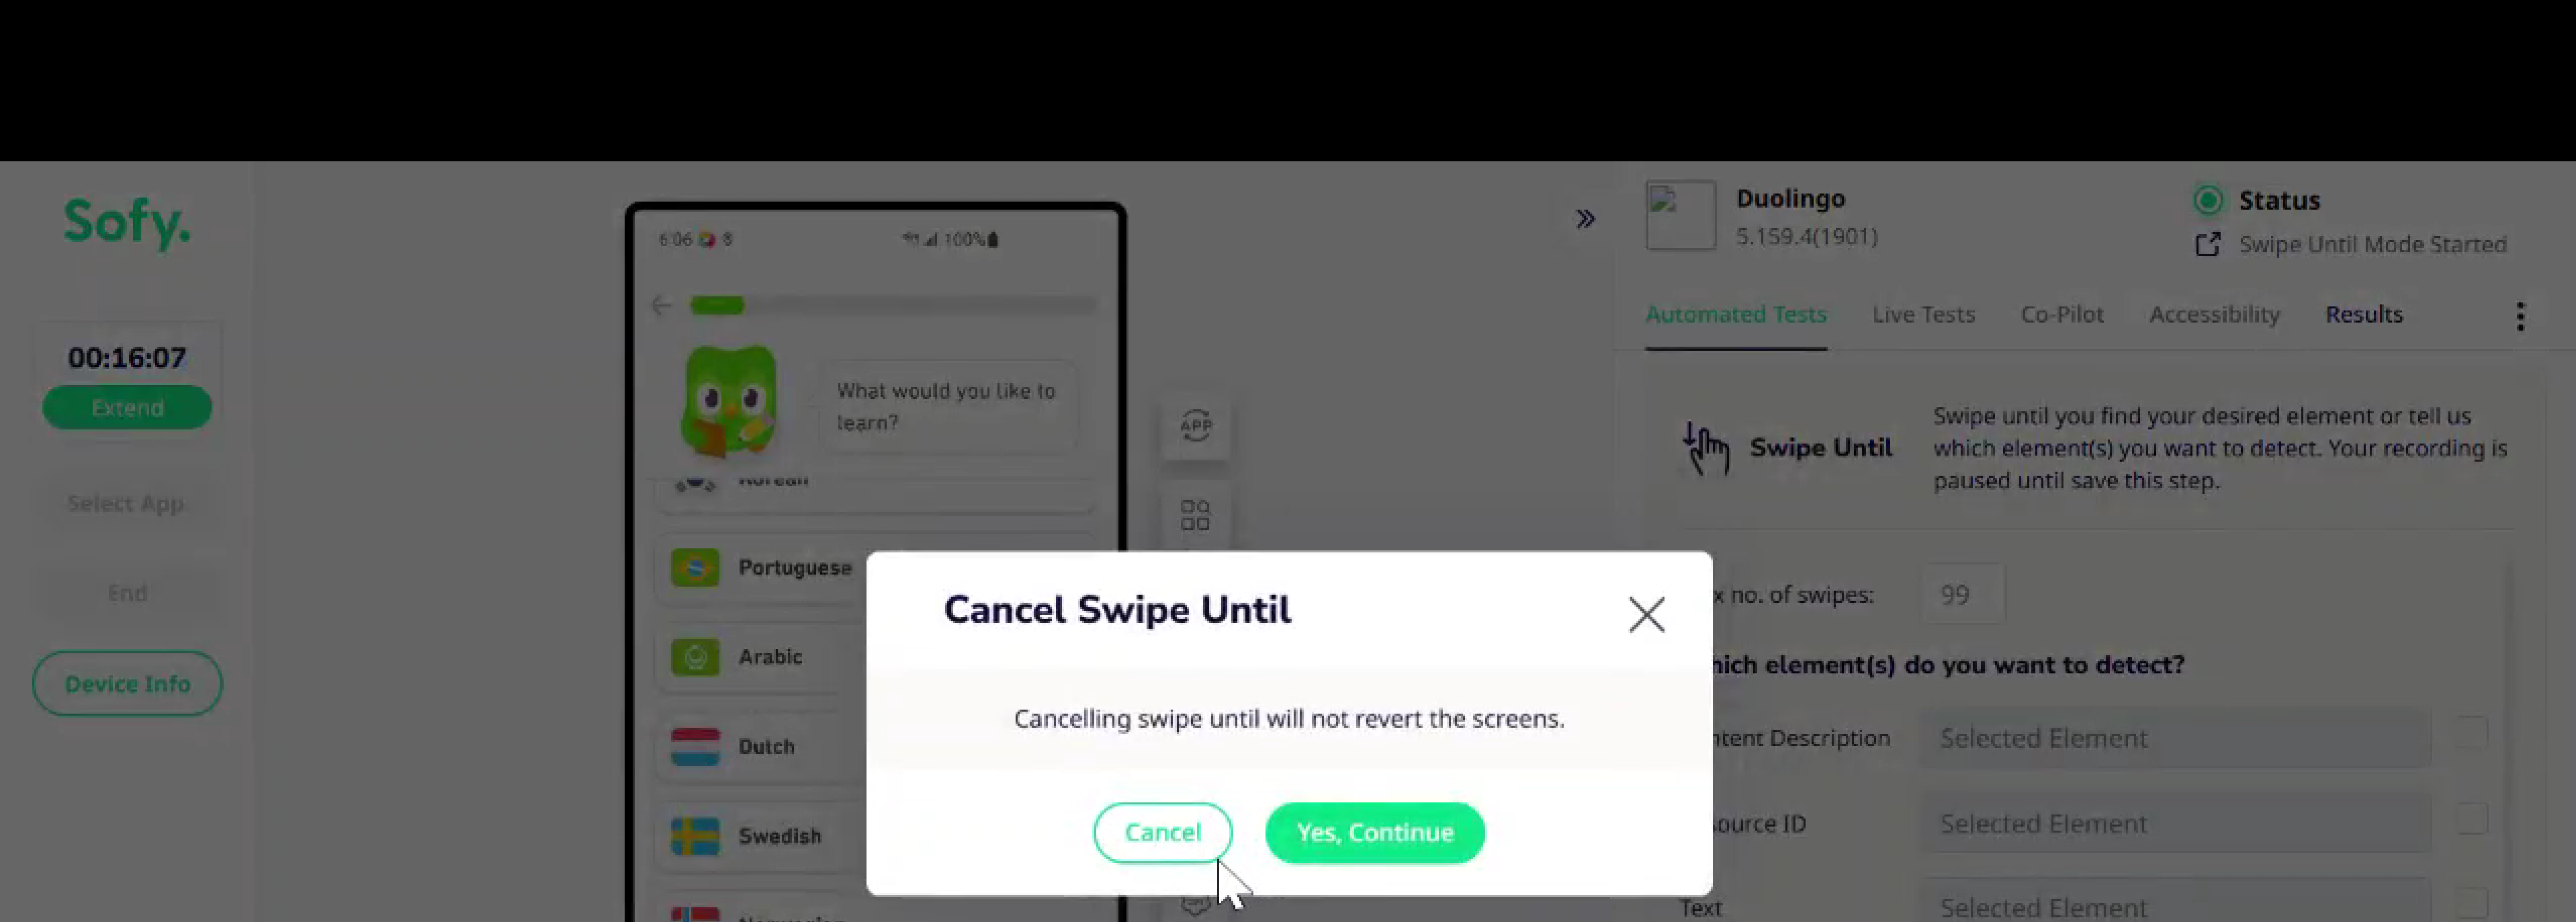
- It is important to note that if you cancel the Swipe Until action as shown in Step 3 of this list, you will see the warning "Canceling swipe until will not revert the screens". This means that any swipes you had performed while in Swipe Until mode during recording affected the test flow and you will need to revert the flow back to the original (before the swipes) if you want to maintain the test flow.
Now, you are all ready to start using Swipe Until during test recordings, saving you the time of having to do this only after recording the test. The system's ability to extract all the necessary attributes for a stopping-condition element also saves you the hassle of inputting the fields manually.
For more details on Swipe-Until, kindly refer to this document.
Please do not hesitate to reach out to our customer support at customersupport@sofy.ai.