Test suites are test cases that can be grouped together into “folders.” Test suites are useful for easier viewing and managing of related test cases, and can save time with creating scheduled test runs. Test suites are also useful for regression testing, as grouping test cases into test suites can help to efficiently run the same tests after each app update and quickly catch any new bugs that may have surfaced.
Creating a New Test Suite
To create a test suite:
Log in to your Sofy account.
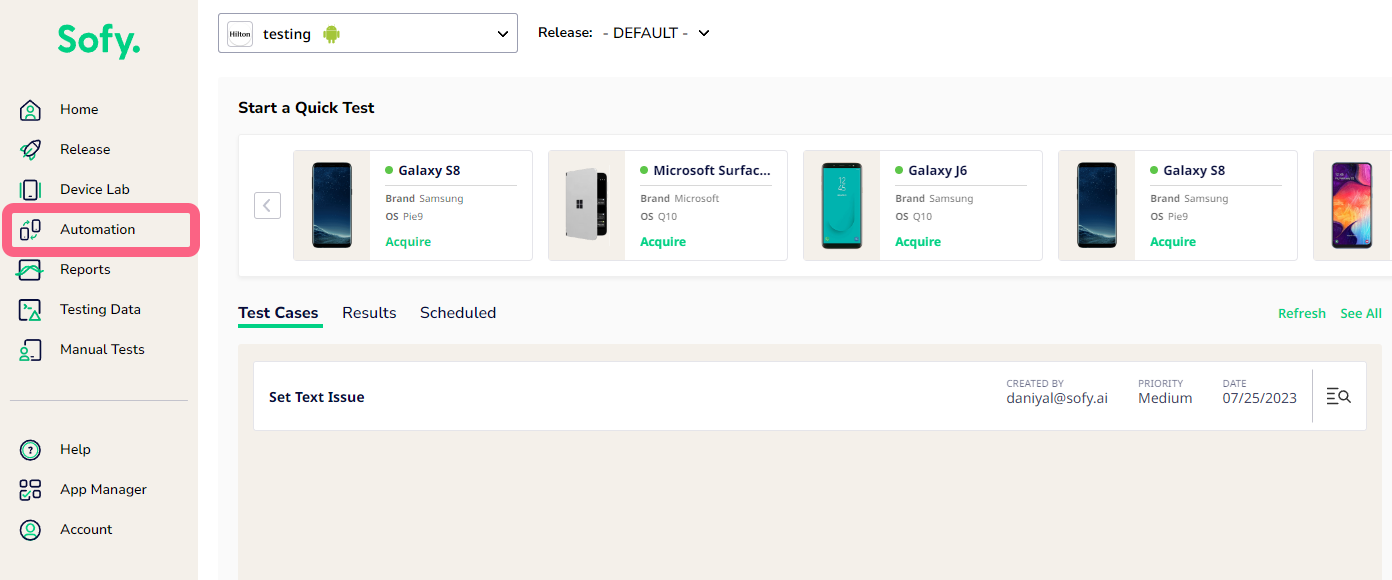
Go to the Automation menu from the left navigation bar.
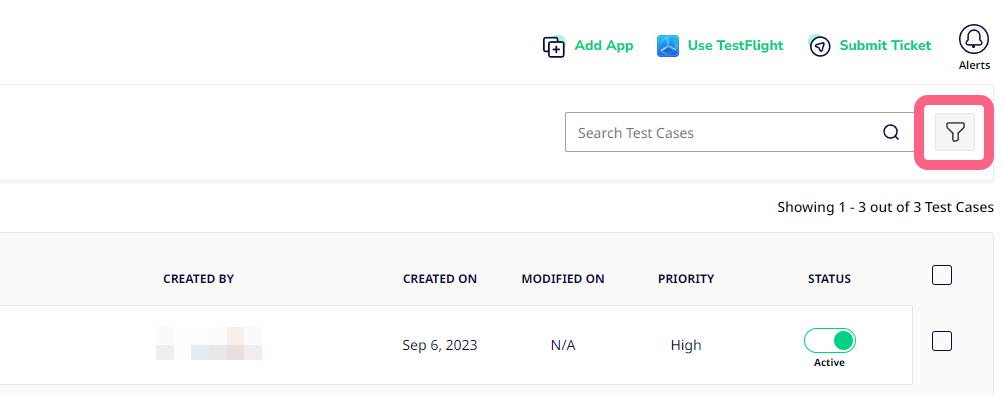
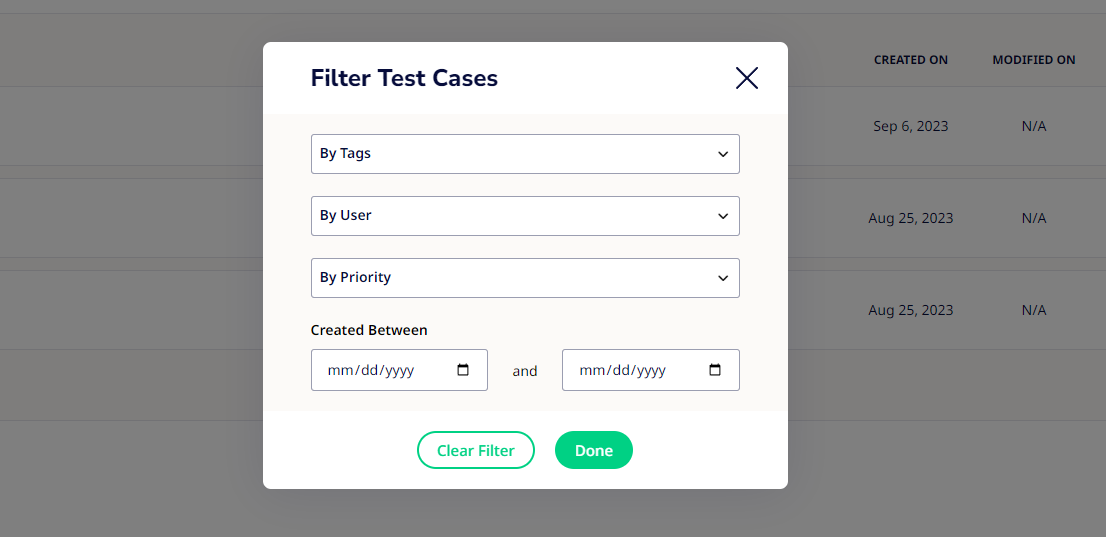
Under the Test Cases tab, scroll through or search for the test cases you want to group into a test suite. You can also use the filter button to the right of the search bar to filter your test cases. Once you’ve chosen your filters, click Done. You should only see the test cases that apply to your filter.You can filter your test cases by the following parameters:
By Tags: View test cases with a specific tag (you can select multiple tags).
By User: View test cases created by a specific user.
ByPriority: View test cases of a specific priority.
Created Between: View the test cases created between two specific dates.
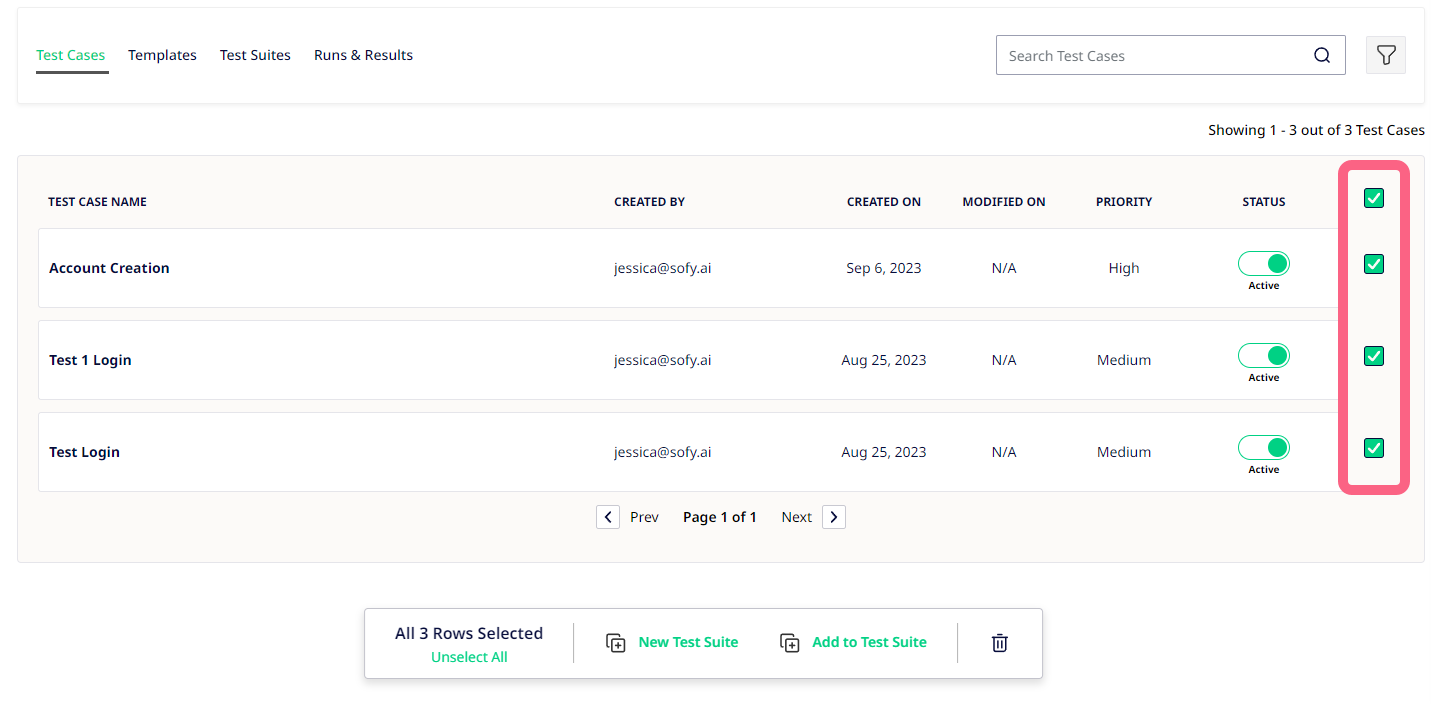
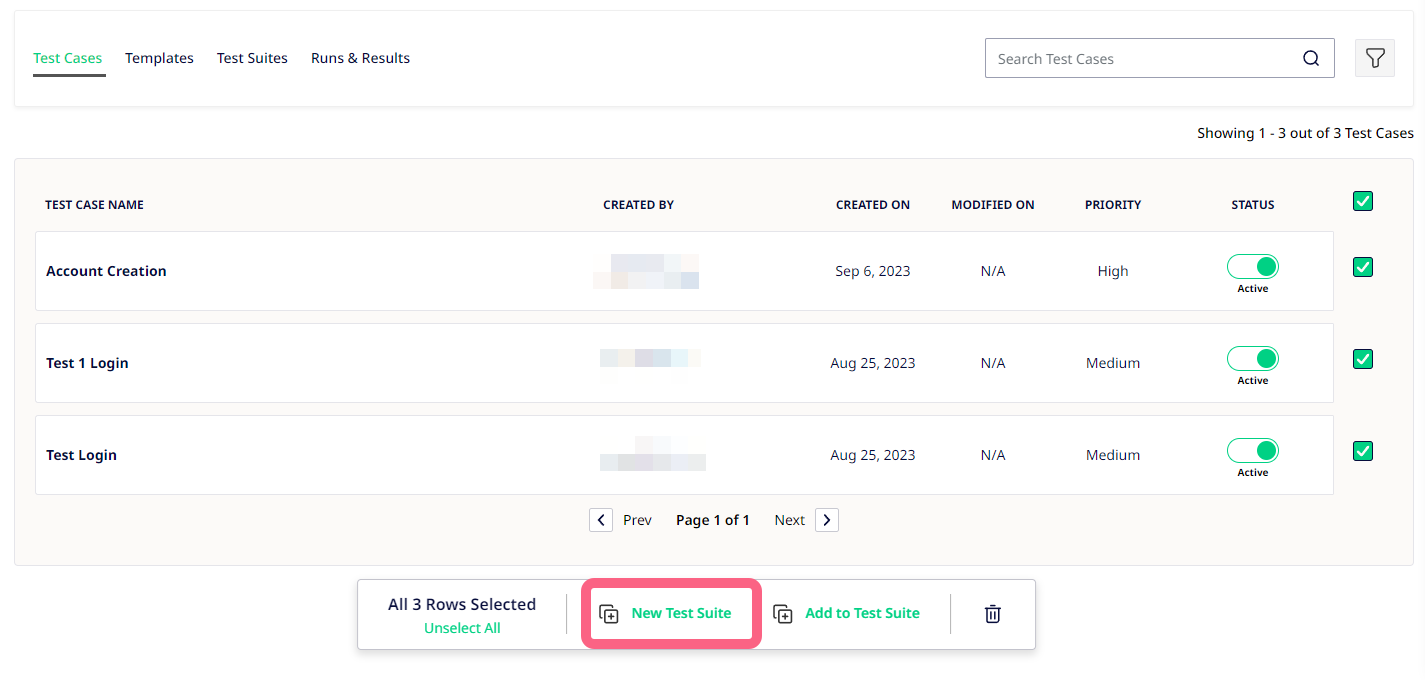
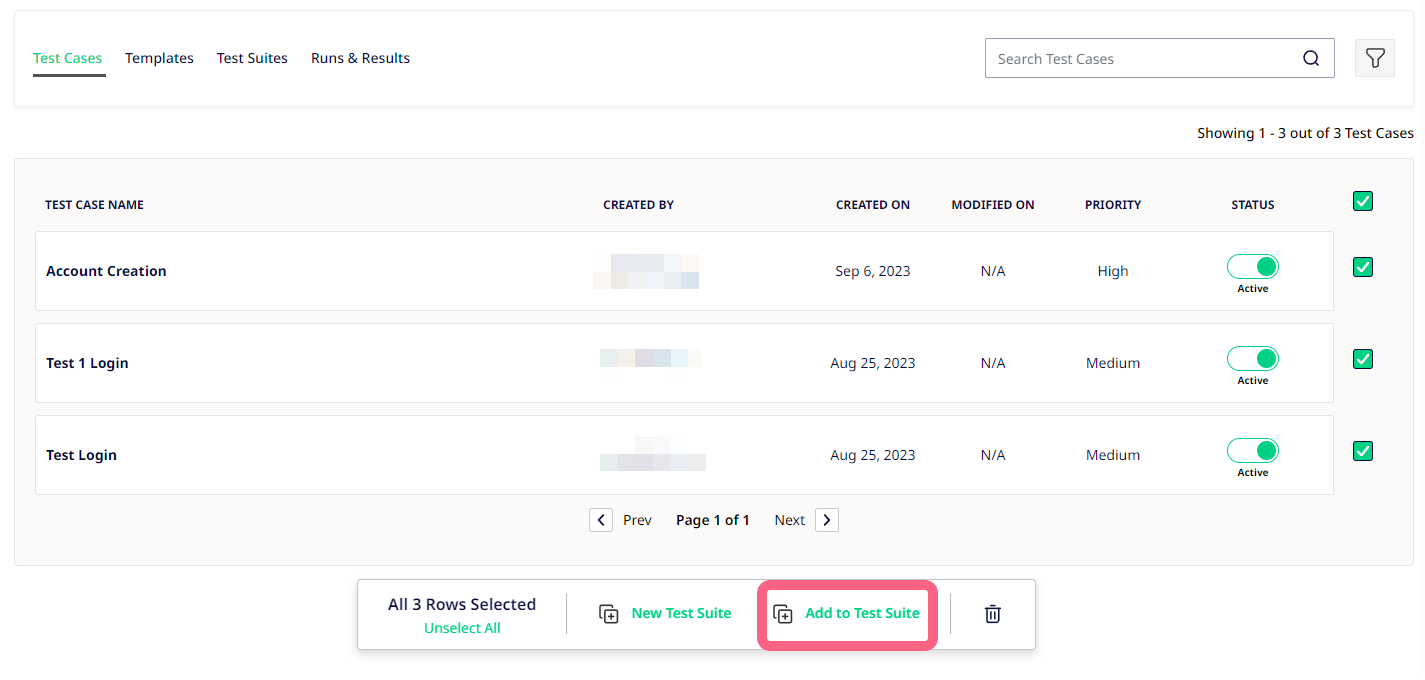
Check the box at the far right of each test case you want to group into a test suite. Alternatively, check the box at the top of the table to select all test cases in the list.
Select New Test Suite from the popup at the bottom of your screen.
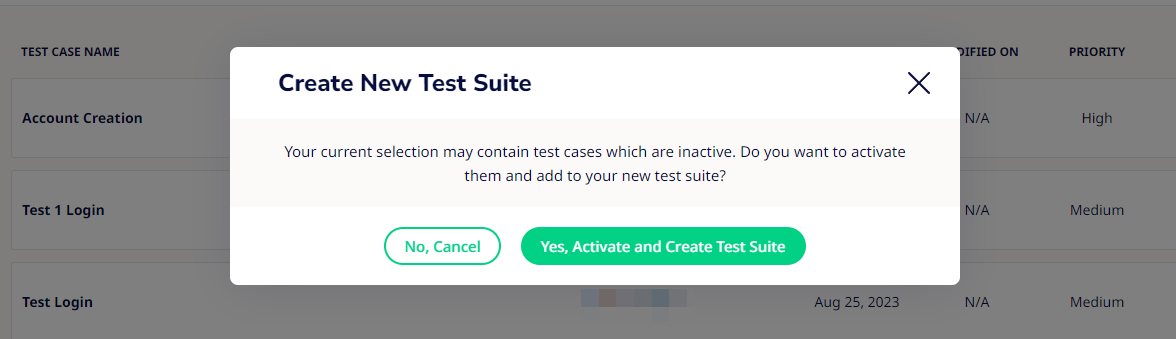
If you selected inactive test cases, you’ll be asked to activate those test cases before creating a test suite. To continue, click Yes, Activate and Create Test Suite.
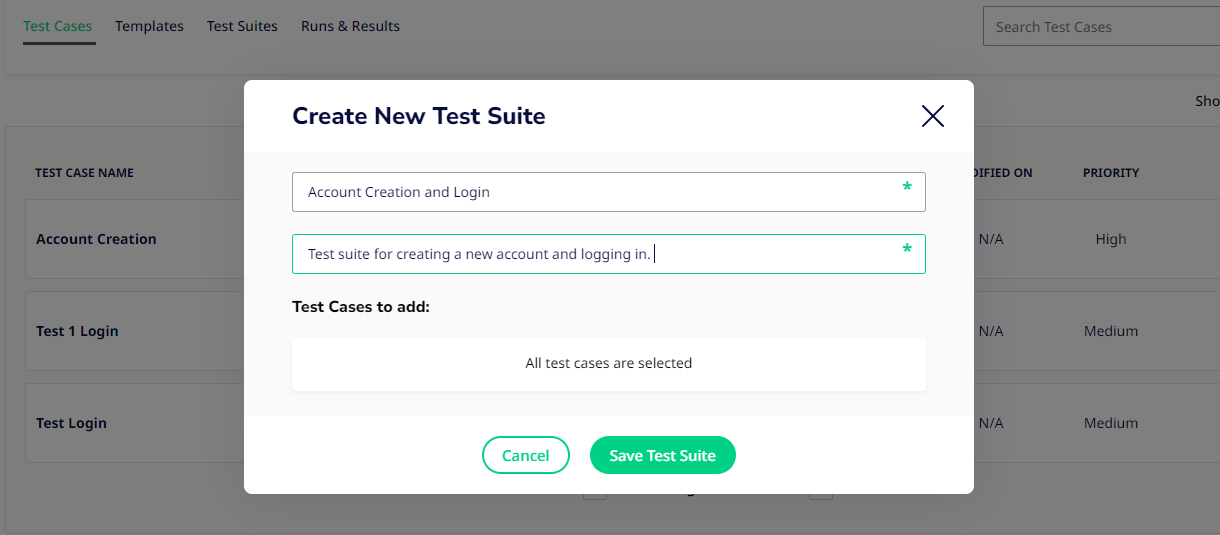
Name the test suite and provide any identifying details about the test suite.
Click Save Test Suite.
Select Close Window or View Test Suite.
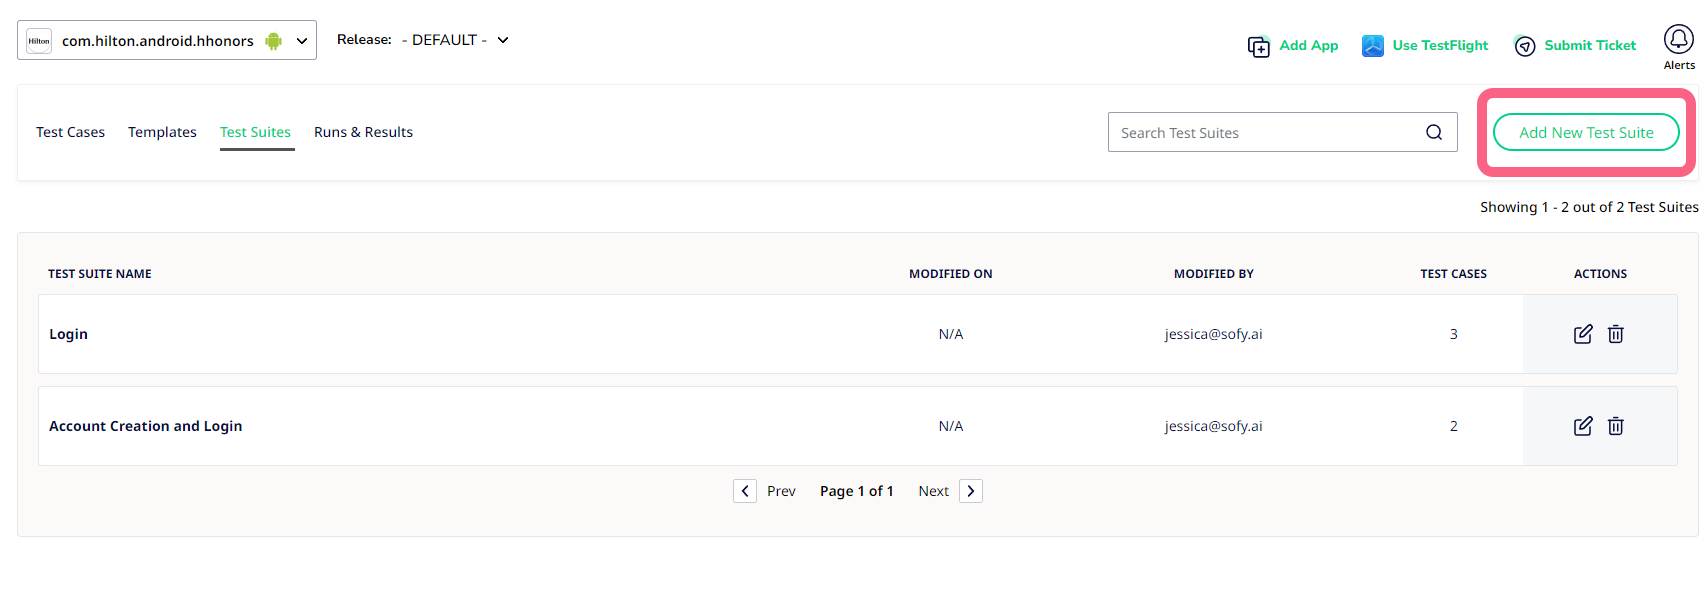
You can view all your test suites under the Test Suites tab in the Automation menu. You can also create test suites via the Add New Test Suite button on the Test Suites page.
Adding Test Cases to an Existing Test Suite
You can also add test cases to an existing test suite. To do this, follow the same steps under Creating a New Test Suite, but once you’ve selected your test cases, click Add to Test Suite instead from the popup at the bottom of your screen.
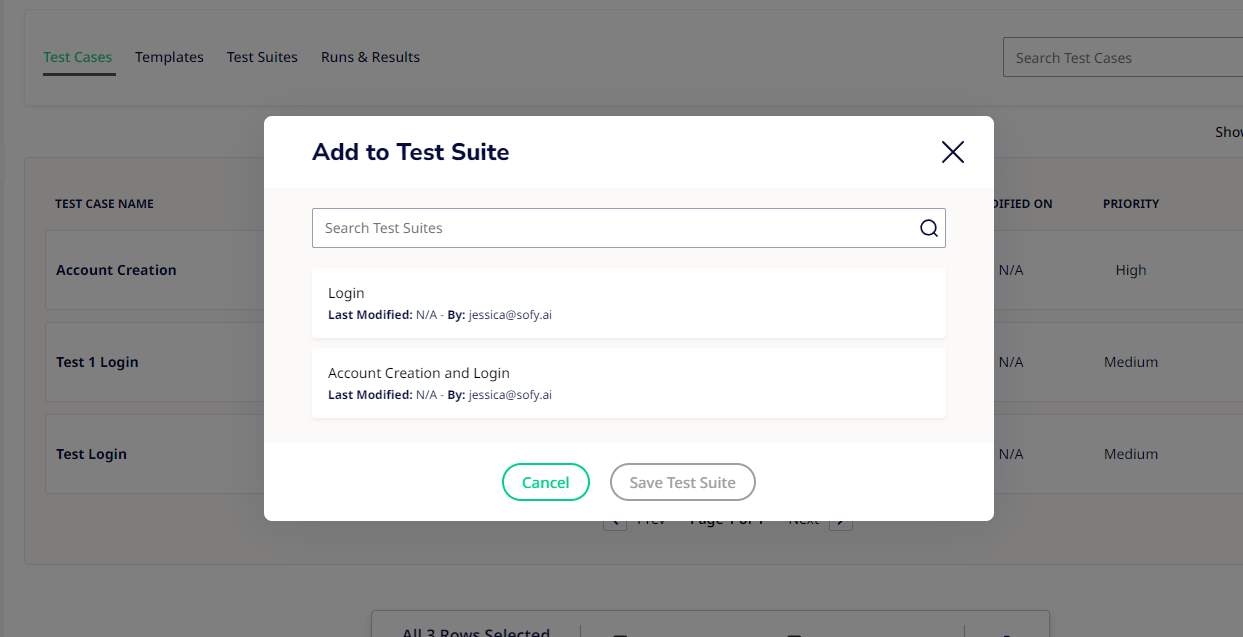
Then, choose a test suite from the Add to Test Suite window and click Save Test Suite.